会议室预订系统:用户管理模块-用户列表和分页查询
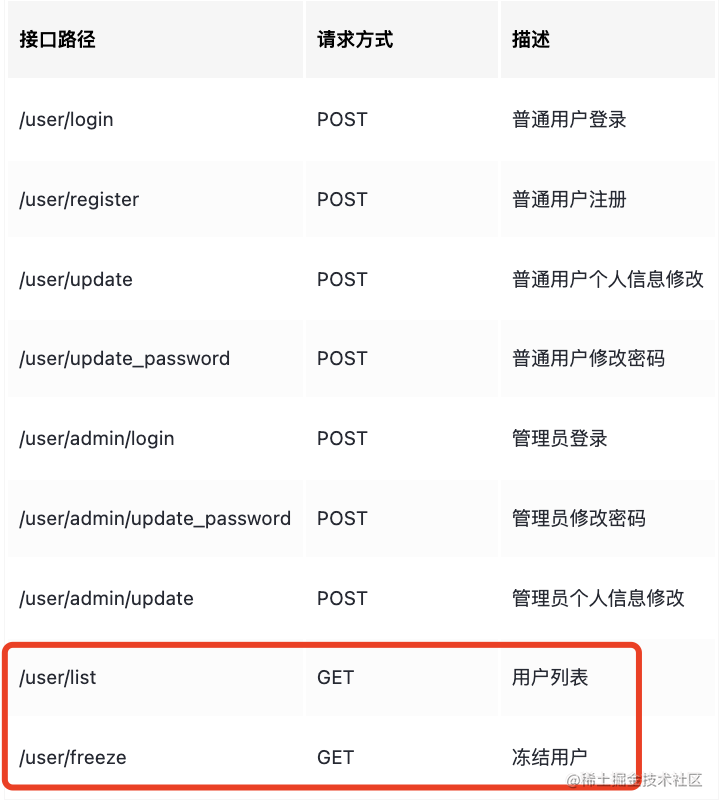
用户管理模块我们实现了注册、登录鉴权、信息修改接口,还剩下两个接口:
这节来实现下。
在那之前先考虑个问题:
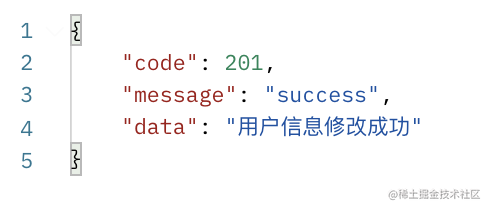
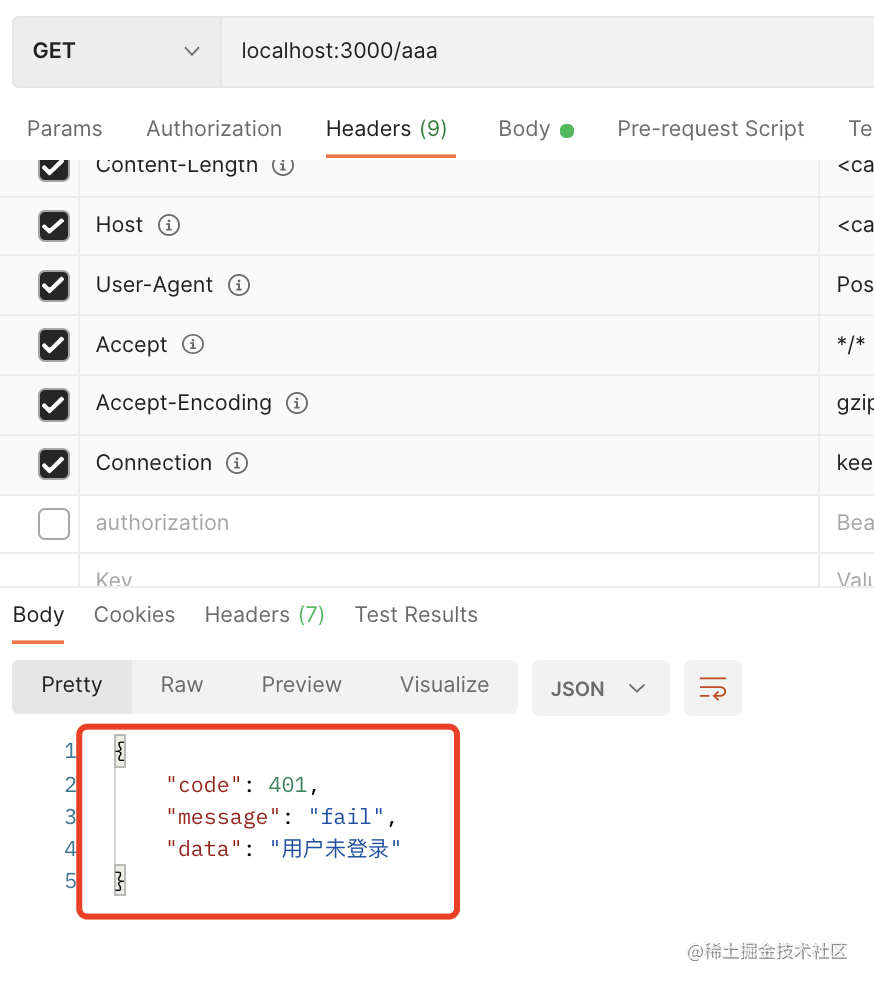
成功的响应是这样的:
但是失败的响应是这样:
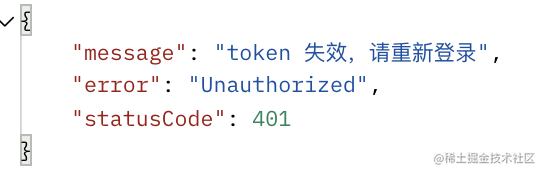
并不统一。
如何让响应统一成 {code、message、data} 的格式呢?
这里就需要自定义 Exception Filter 了。
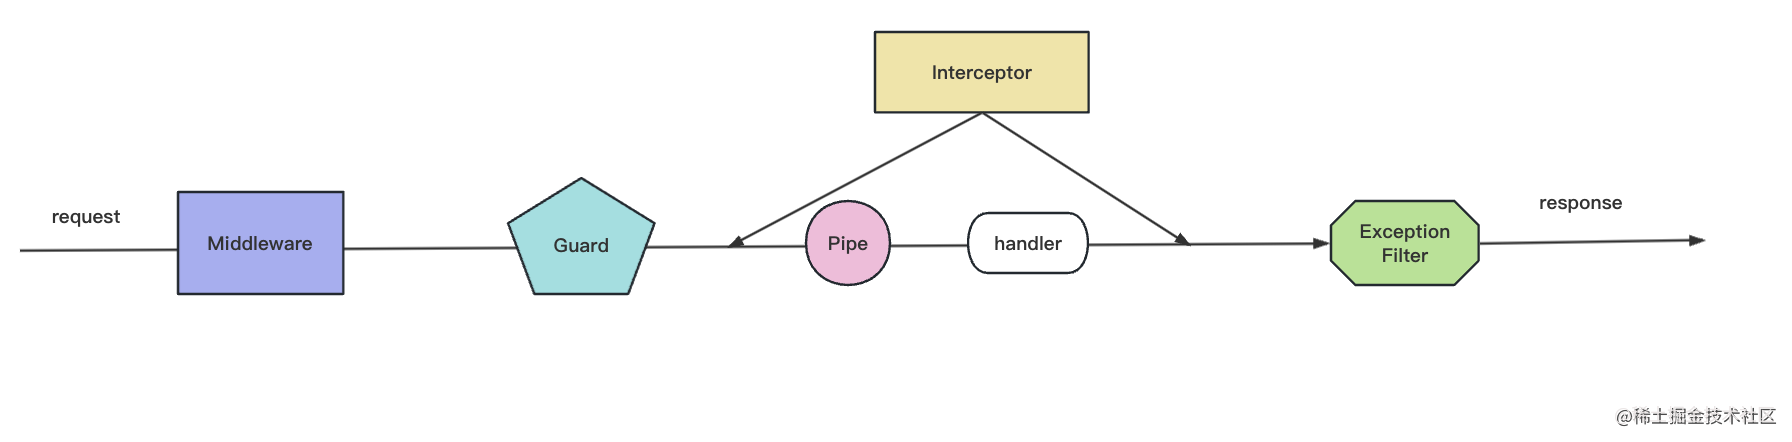
在 Guard、handler、interceptor 等处理逻辑里 throw http 异常,都会被 ExceptionFilter 处理成相应的响应。
如果想修改异常响应的格式,就要自定义了。
我们新建个 exception filter:
nest g filter unlogin --flat
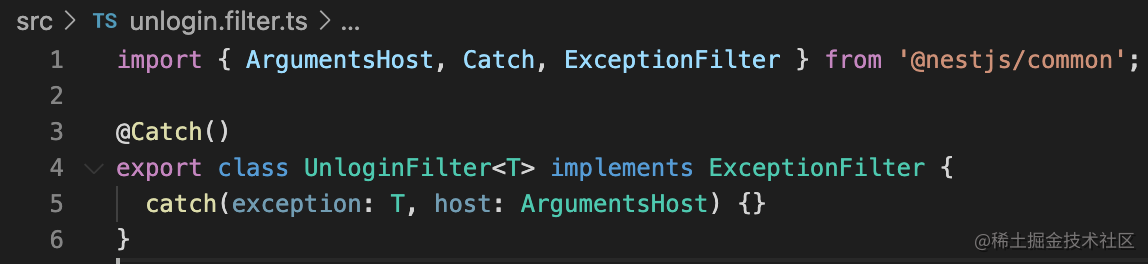
@Catch 的参数可以指定具体 catch 的异常类型:
import {
    ArgumentsHost,
    Catch,
    ExceptionFilter,
    HttpStatus,
} from "@nestjs/common";
import { Response } from "express";

export class UnLoginException {
    message: string;

    constructor(message?) {
        this.message = message;
    }
}

@Catch(UnLoginException)
export class UnloginFilter implements ExceptionFilter {
    catch(exception: UnLoginException, host: ArgumentsHost) {
        const response = host.switchToHttp().getResponse<Response>();

        response
            .json({
                code: HttpStatus.UNAUTHORIZED,
                message: "fail",
                data: exception.message || "用户未登录",
            })
            .end();
    }
}
我们自定义了 UnLoginException 的异常,在 @Catch 指定捕获这个异常,返回对应的响应。
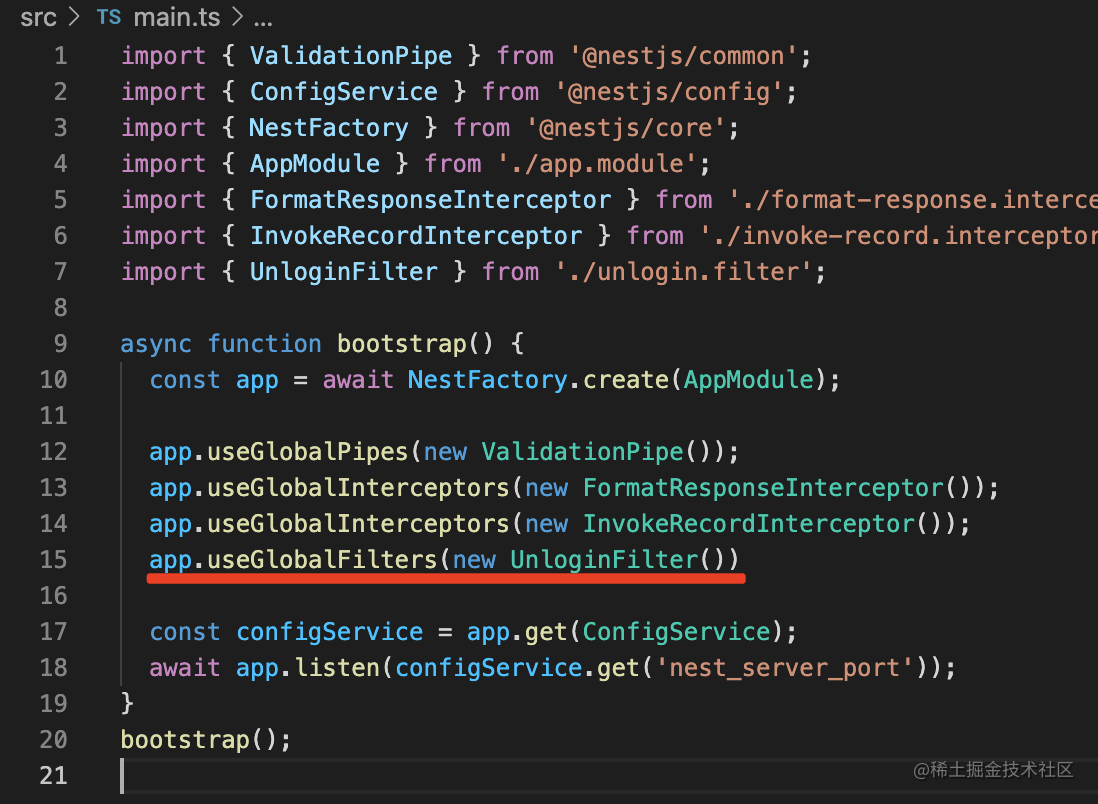
在 main.ts 引入下:
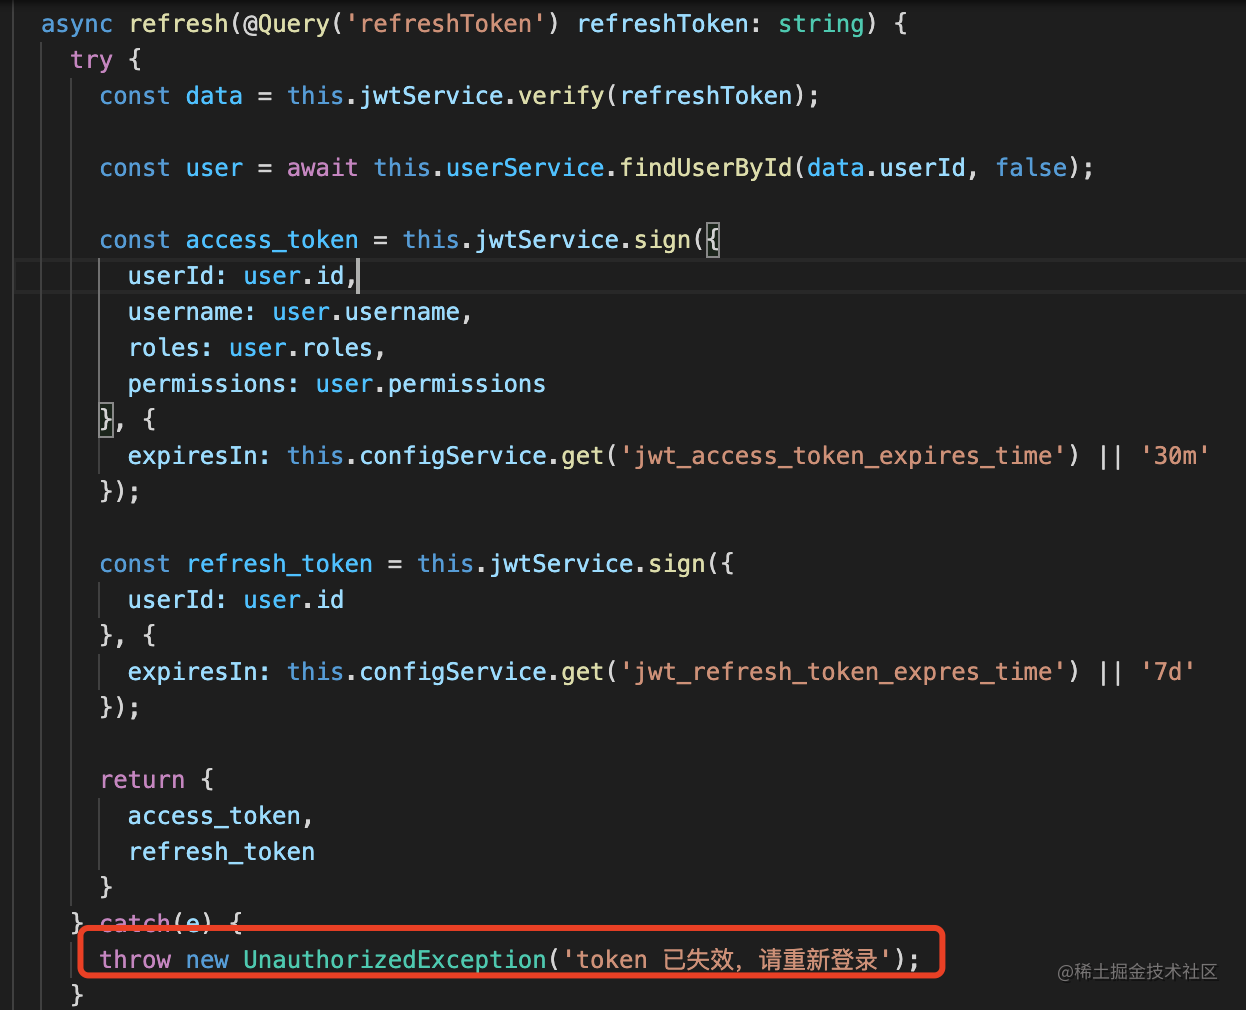
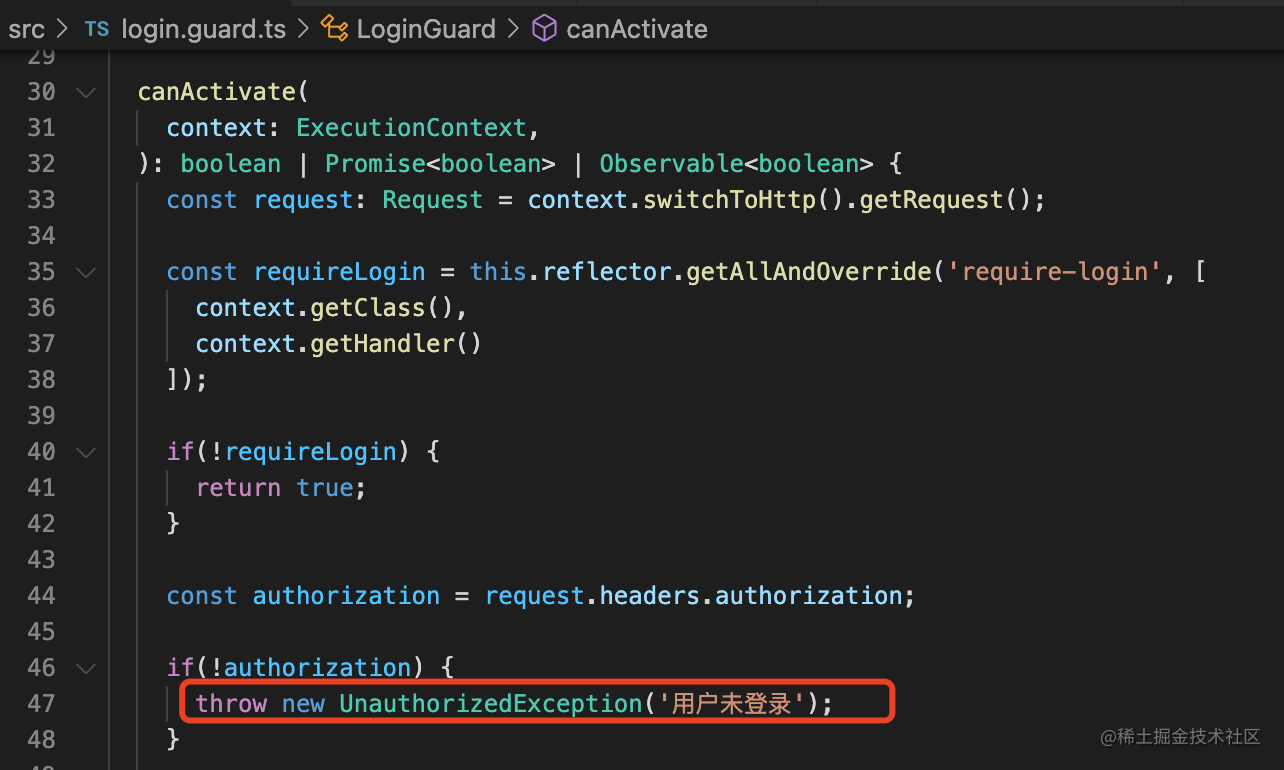
然后把 LoginGuard 里的异常改成 UnLoginException
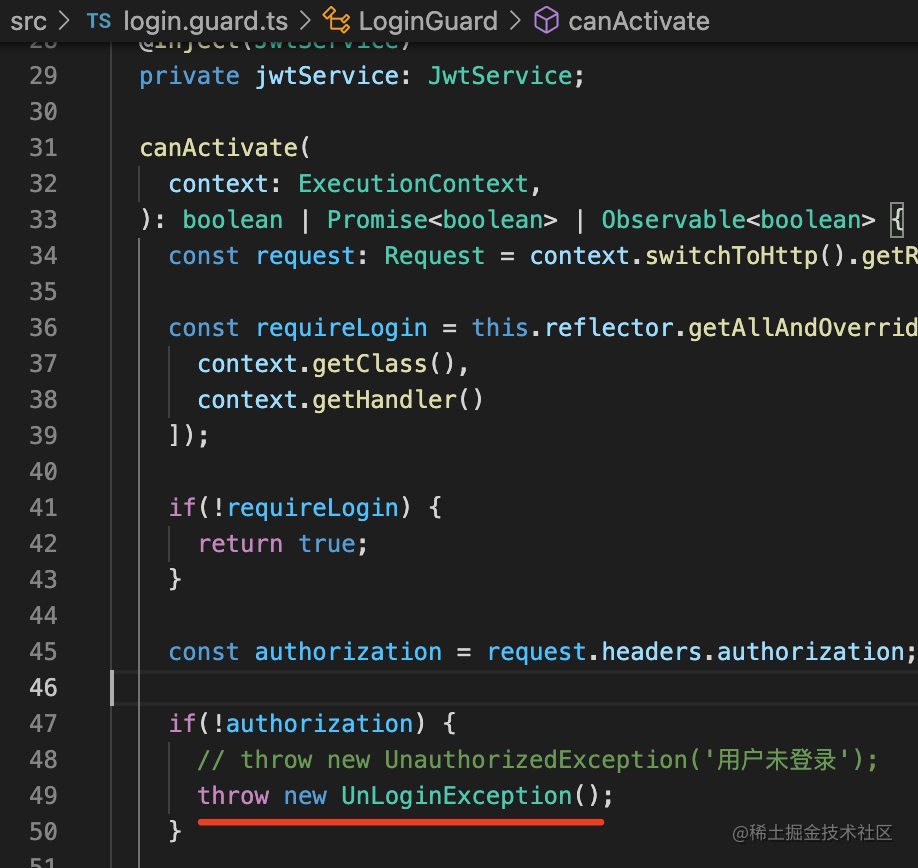
测试下:

现在当你不带 token 访问 /aaa 的时候,返回的就是自己定义的格式了。
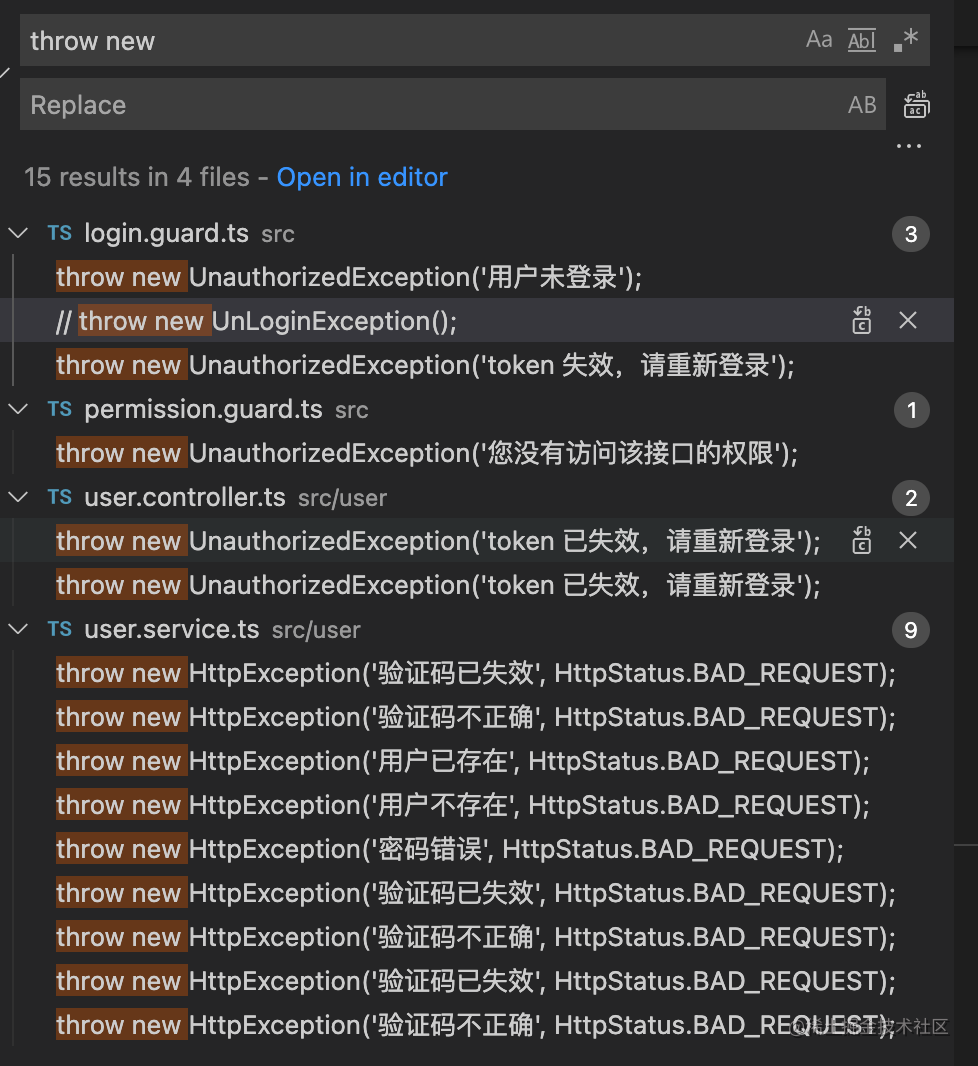
搜索下之前代码里抛的异常:
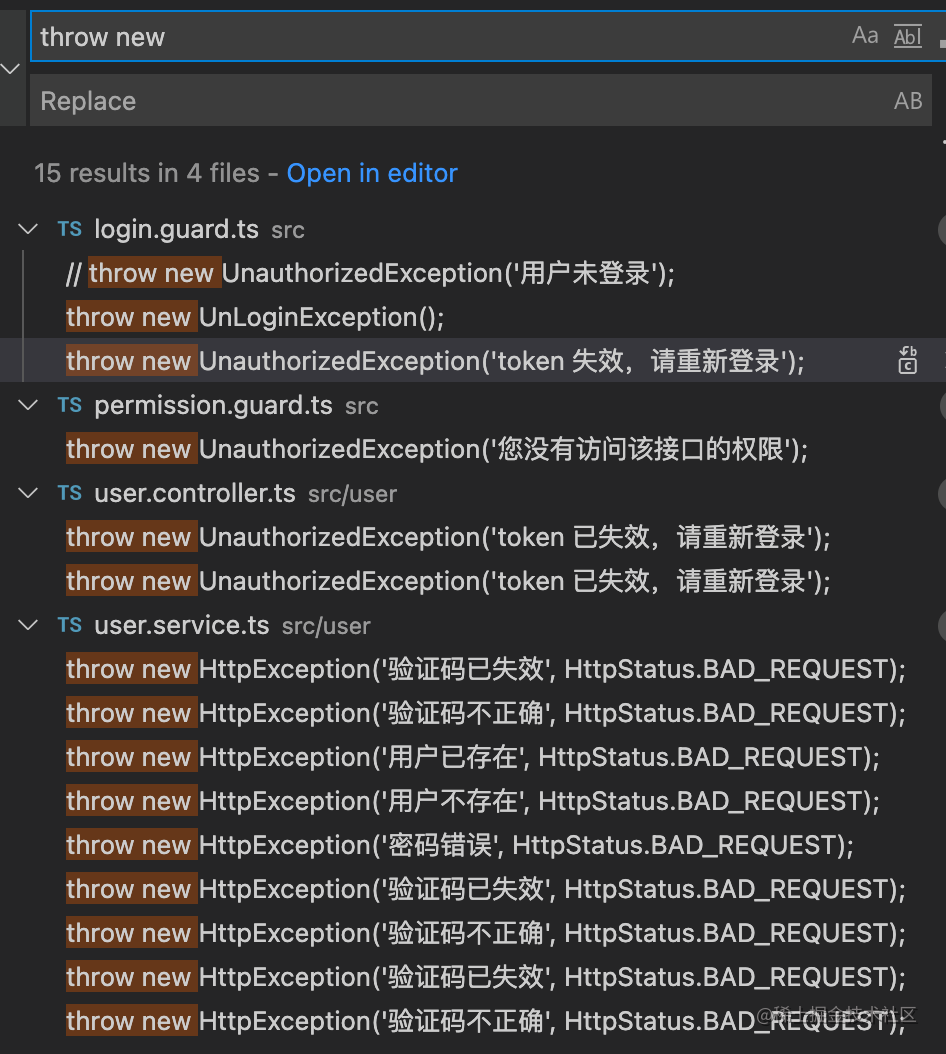
还有不少。
难道有多少种 exception 就定义多少种异常类和 exception filter 么?
没必要,直接修改下对 HttpException 的处理逻辑就好了。
nest g filter custom-exception --flat

import {
    ArgumentsHost,
    Catch,
    ExceptionFilter,
    HttpException,
    HttpStatus,
} from "@nestjs/common";
import { Response } from "express";

@Catch(HttpException)
export class CustomExceptionFilter implements ExceptionFilter {
    catch(exception: HttpException, host: ArgumentsHost) {
        const response = host.switchToHttp().getResponse<Response>();
        response.statusCode = exception.getStatus();

        response
            .json({
                code: exception.getStatus(),
                message: "fail",
                data: exception.message,
            })
            .end();
    }
}
直接 @Catch 指定 HttpException,修改返回的响应格式。
然后在 main.ts 里启用:
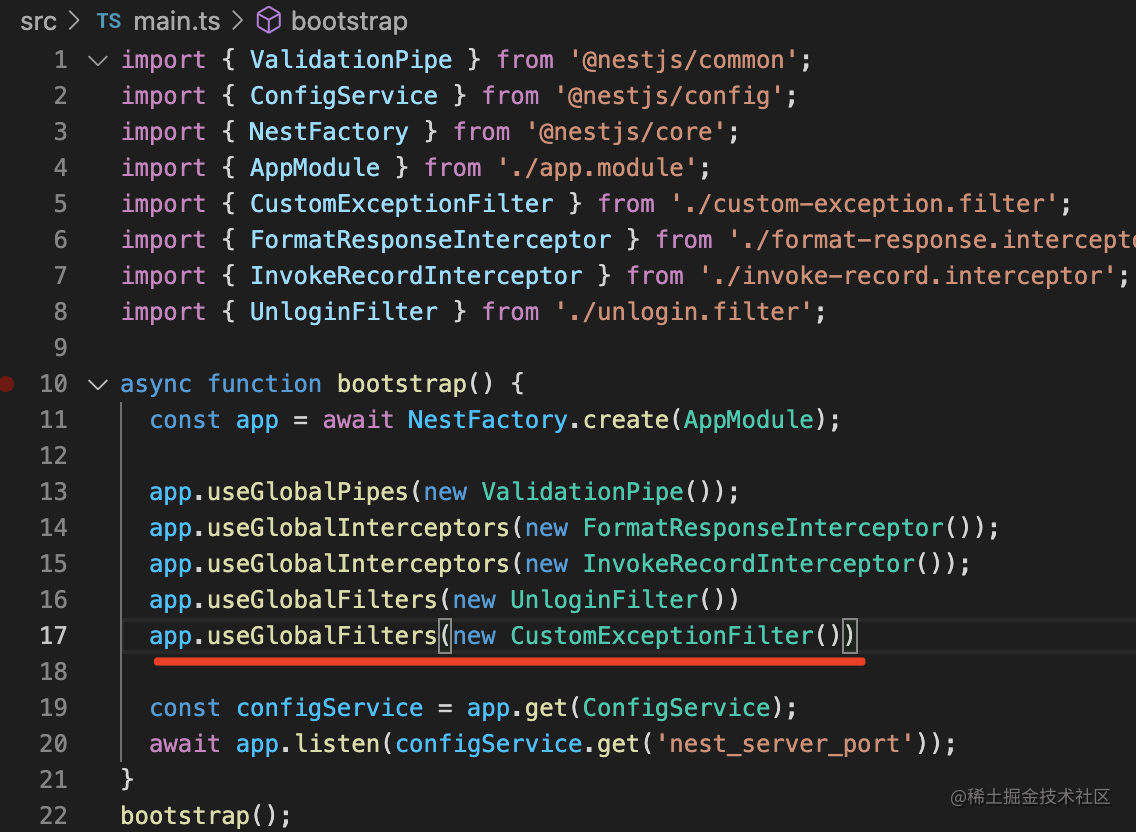
这样,所有的代码都不用修改,返回的响应就已经变了:
所以,如果你只是想修改默认的响应格式,直接定义个 catch HttpException 的 filter 就好了。
但这样其实还有个问题:
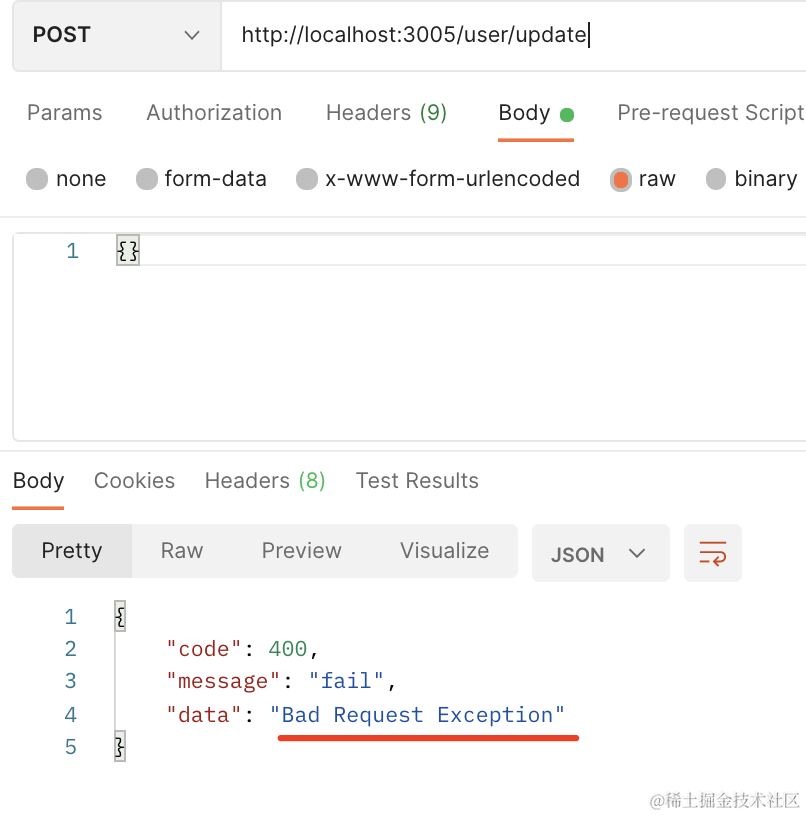
对于 ValidationPipe 报的错,返回的信息不准。
我们可以打个断点看看具体的错误信息:
创建 .vscode/launch.json 文件:
输入调试配置:
{
    "name": "Launch via NPM",
    "request": "launch",
    "runtimeArgs": [
        "run-script",
        "start:dev"
    ],
    "console": "integratedTerminal",
    "runtimeExecutable": "npm",
    "skipFiles": [
        "<node_internals>/**"
    ],
    "type": "node"
}
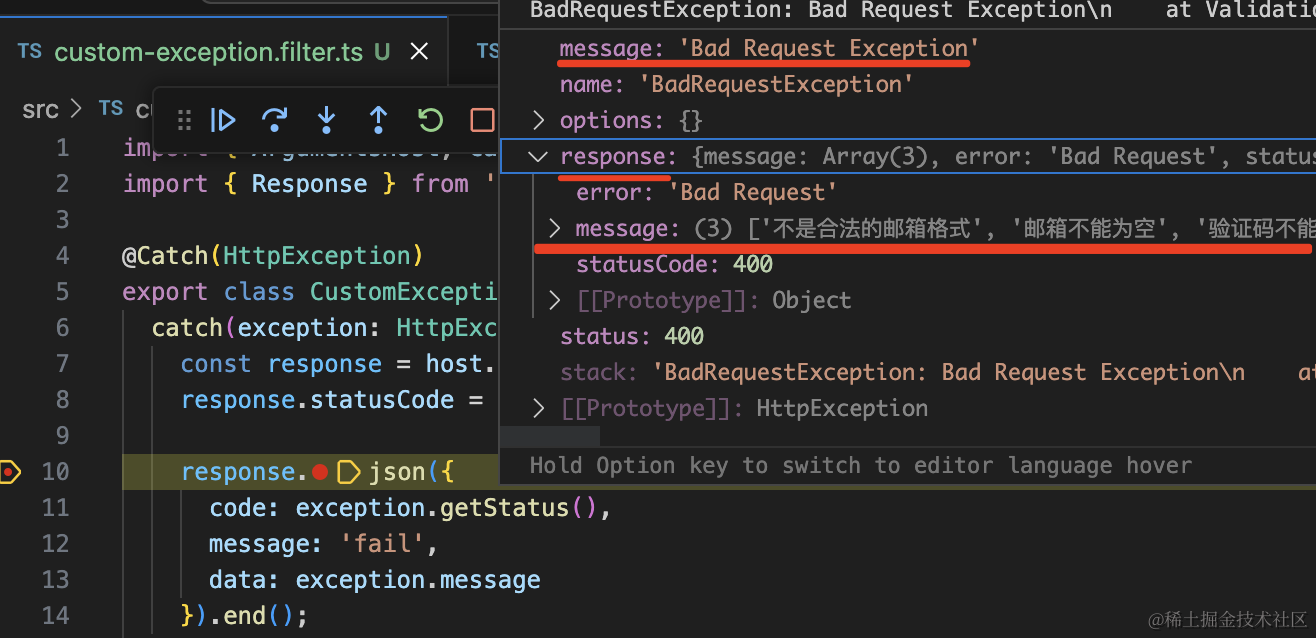
然后在 exception filter 打个断点,点击调试启动:
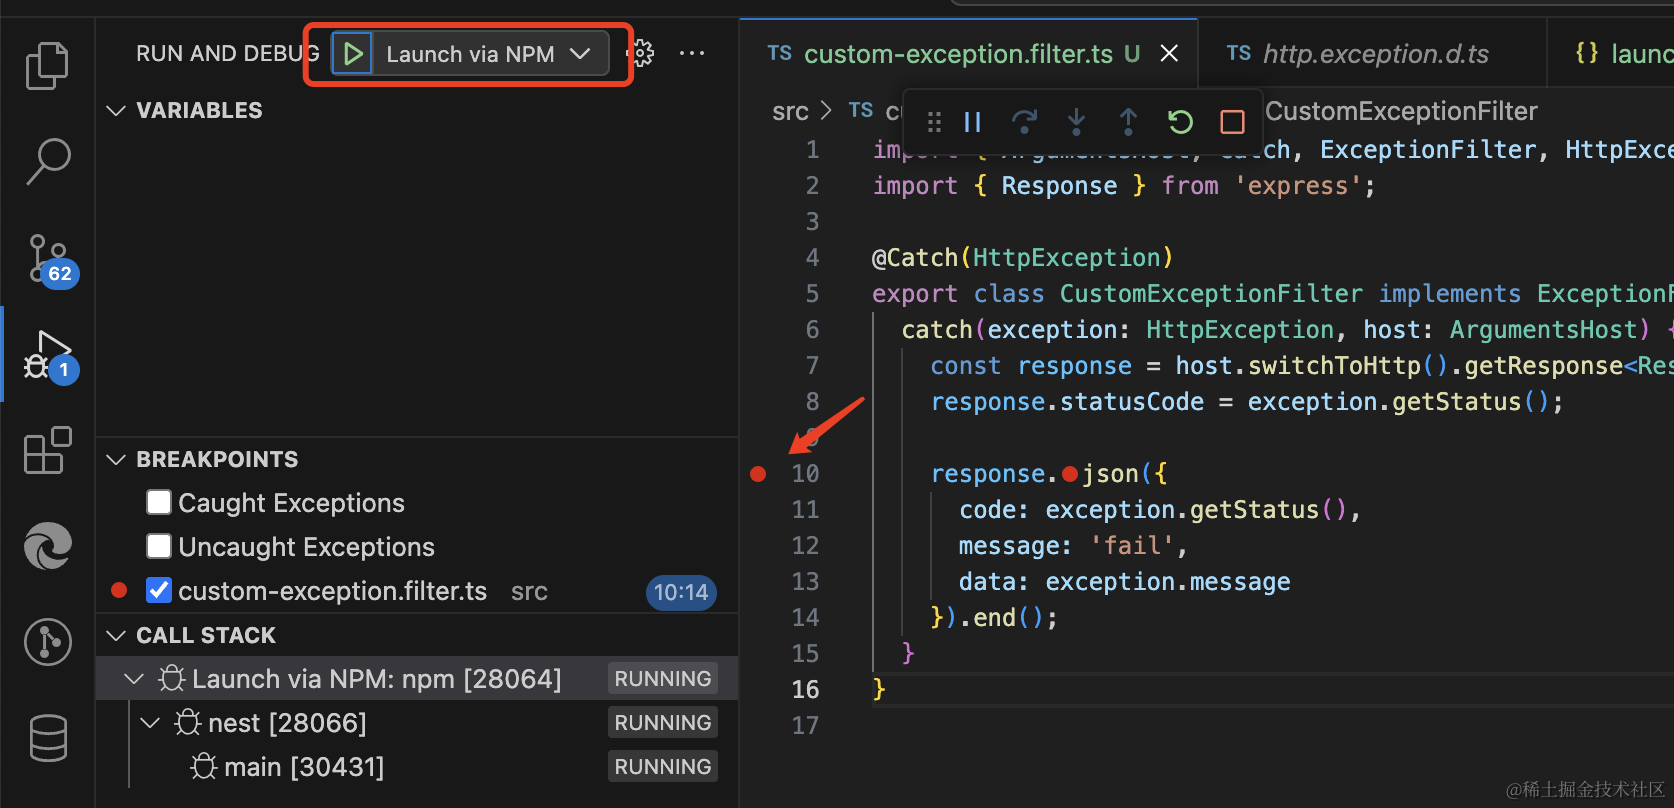
在 postman 里再次请求这个接口,代码会在断点处断住:
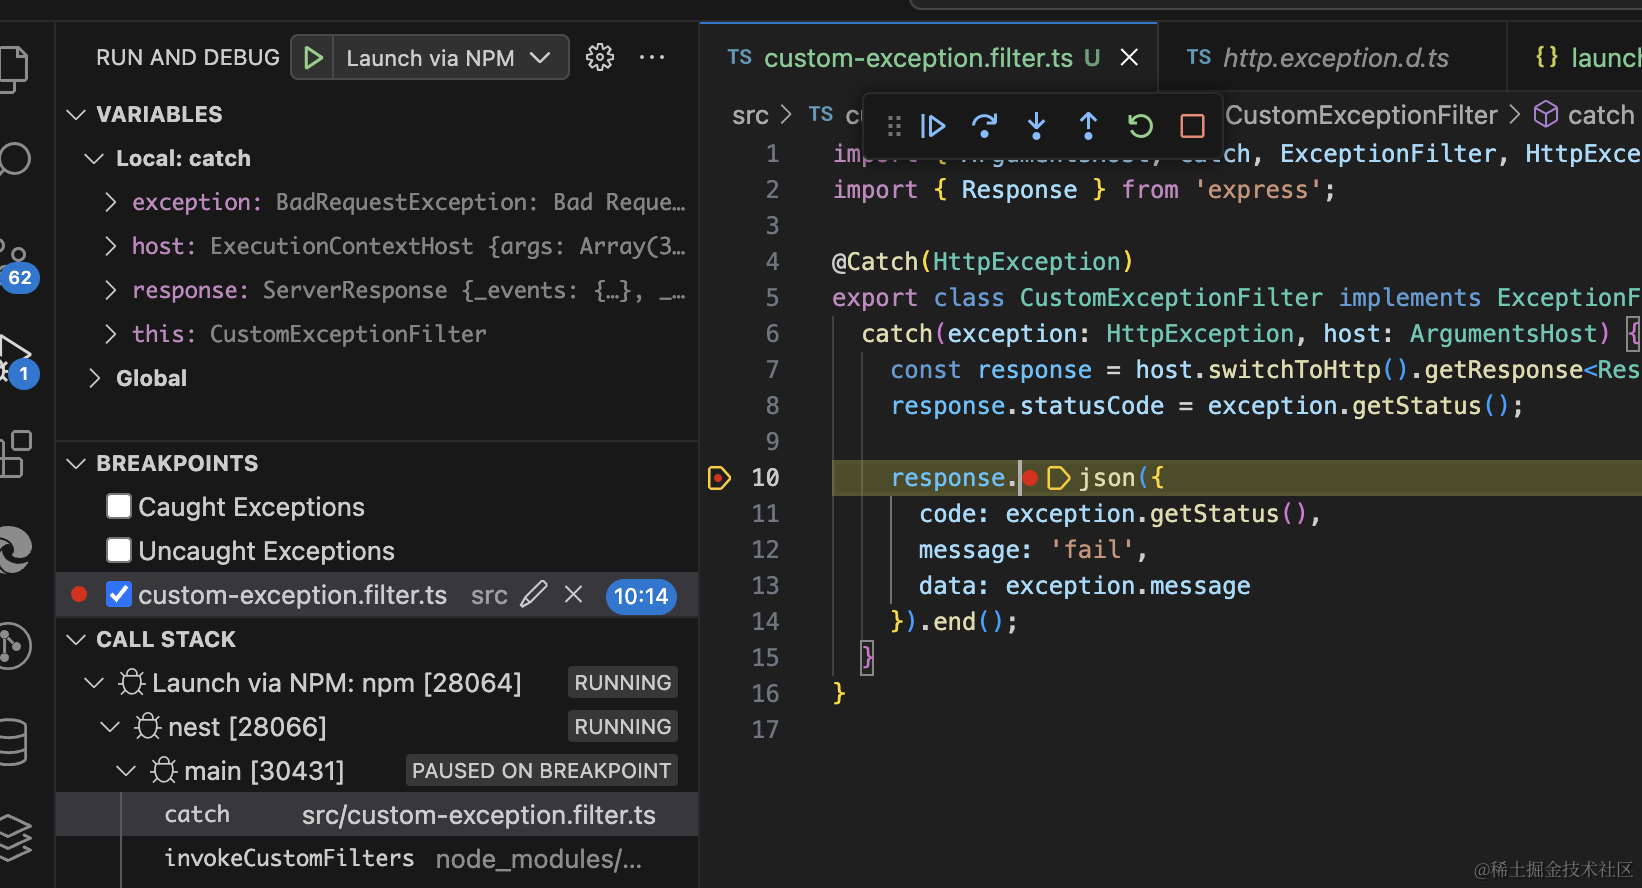
可以看到,这时候 message 并不是具体的错误,具体的错误在 response.message 里:
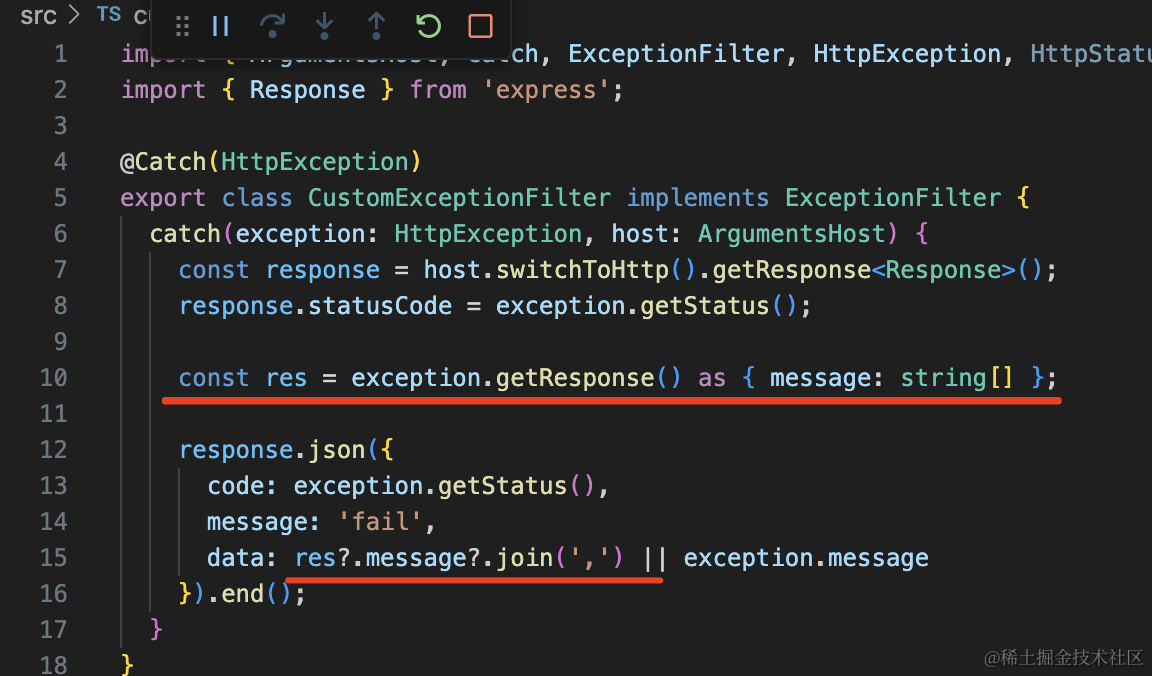
所以我们可以这样改:
import {
    ArgumentsHost,
    Catch,
    ExceptionFilter,
    HttpException,
    HttpStatus,
} from "@nestjs/common";
import { Response } from "express";

@Catch(HttpException)
export class CustomExceptionFilter implements ExceptionFilter {
    catch(exception: HttpException, host: ArgumentsHost) {
        const response = host.switchToHttp().getResponse<Response>();
        response.statusCode = exception.getStatus();

        const res = exception.getResponse() as { message: string[] };

        response
            .json({
                code: exception.getStatus(),
                message: "fail",
                data: res?.message?.join
                    ? res?.message?.join(",")
                    : exception.message,
            })
            .end();
    }
}
就是如果有 response.message 就优先用那个,否则就取 exception.message。
再试下:
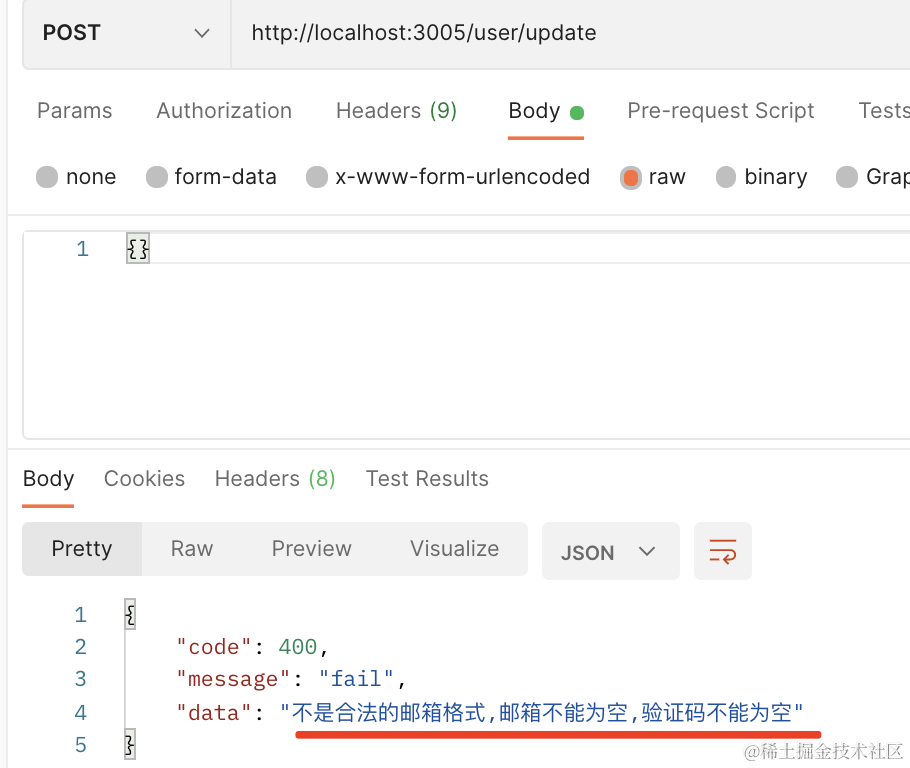
这样,错误显示就对了。
然后我们实现冻结用户的接口,冻结的用户不能预定会议室。
这个接口非常简单,就是修改一个字段:

@Get('freeze')
async freeze(@Query('id') userId: number) {
    await this.userService.freezeUserById(userId);
    return 'success';
}
定义 get 接口,然后从 query 取 id 参数。
其实这个接口也需要登录,而且只有管理员有调用它的权限,这个我们后面再统一处理。
在 UserService 定义这个 freezeUserById 方法:
async freezeUserById(id: number) {
    const user = await this.userRepository.findOneBy({
        id
    });

    user.isFrozen = true;

    await this.userRepository.save(user);
}
测试下:
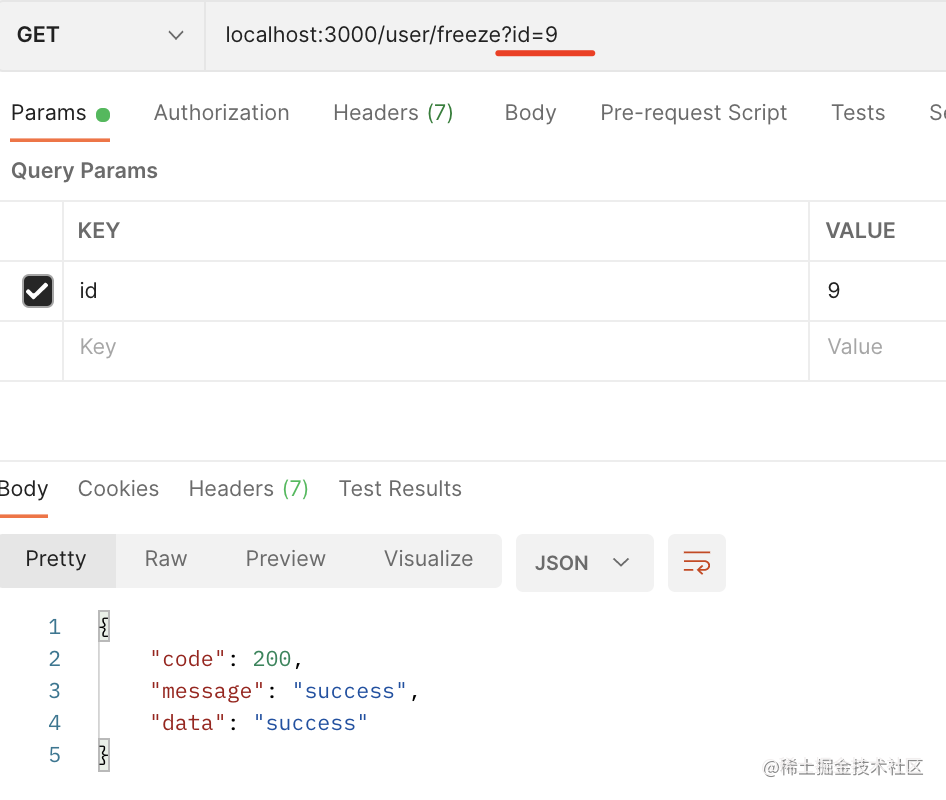
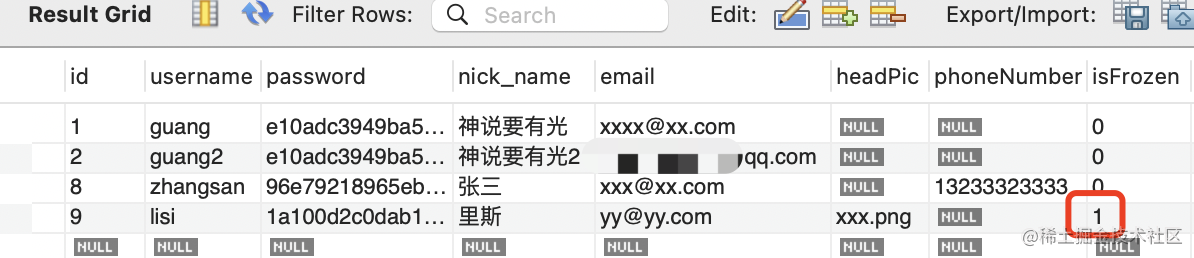
确实冻结了。
然后实现 /user/list 用户列表接口。
@Get('list')
async list(@Query('pageNo', ParseIntPipe) pageNo: number, @Query('pageSize', ParseIntPipe) pageSize: number) {
    return await this.userService.findUsersByPage(pageNo, pageSize);
}
这个接口支持分页查询,传入 pageNo、pageSize,返回对应页的数据。
我们在 UserService 里实现下:
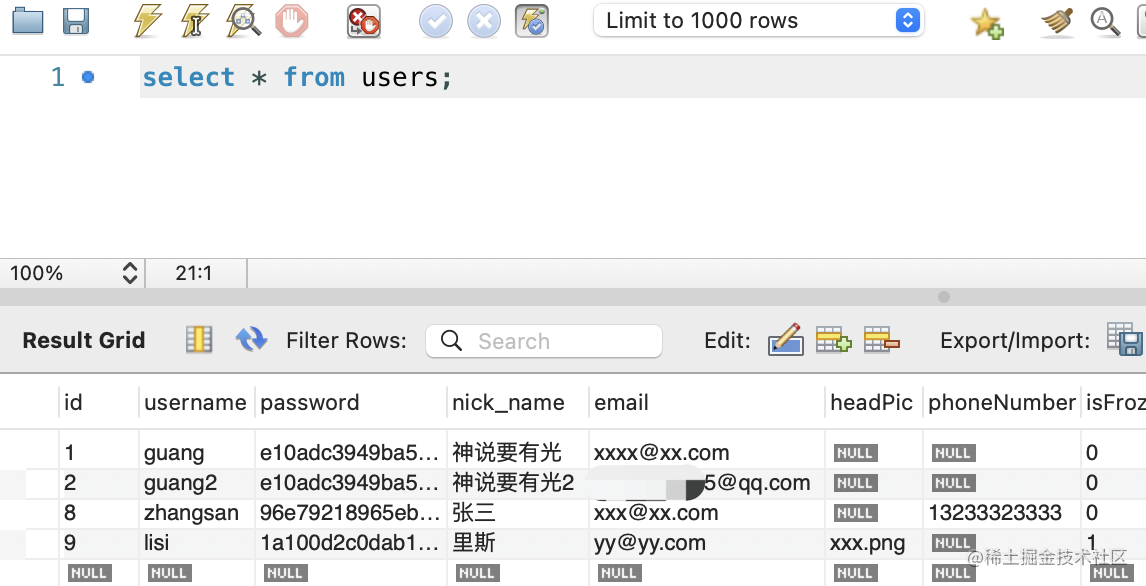
还记得如何用 sql 实现分页查询么?
目前 users 表有 4 条数据,我们先查询全部的:
select * from users
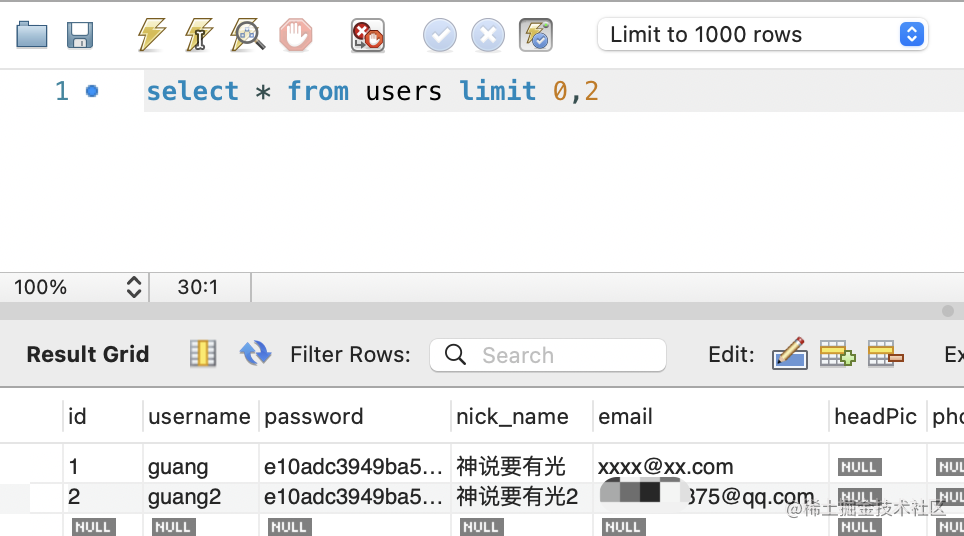
然后每 2 条记录一页
查询第一页:
select * from users limit 0,2
查询第二页:
select * from users limit 2,2
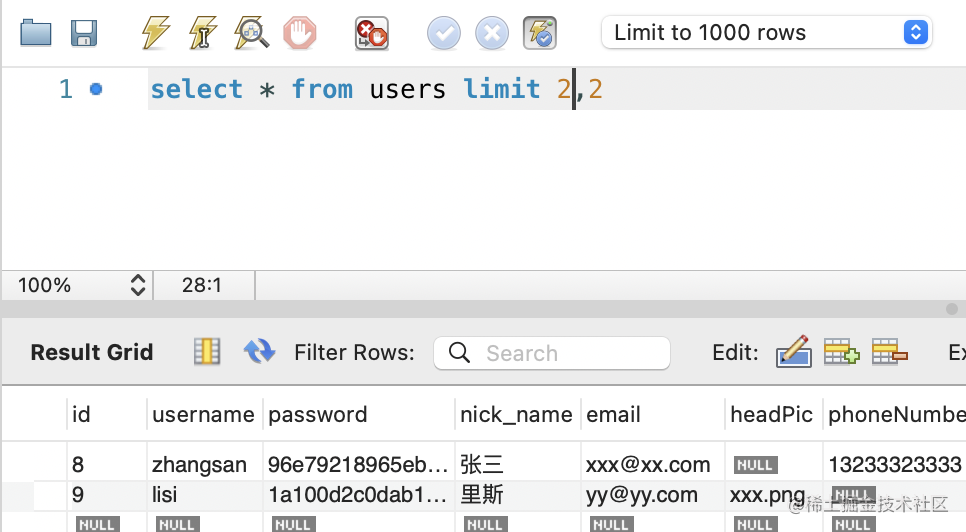
也就是说,只要计算出当前页码跳过多少条记录,取多少条记录就好了。
也就是这样:
async findUsersByPage(pageNo: number, pageSize: number) {
    const skipCount = (pageNo - 1) * pageSize;

    const [users, totalCount] = await this.userRepository.findAndCount({
        skip: skipCount,
        take: pageSize
    });

    return {
        users,
        totalCount
    }
}
当前页码减一乘以 pageSize,就是要跳过的记录数,然后再取 pageSize 条。
我们这次用的是 findAndCount 的 api,它还会查询总记录数。
测试下:
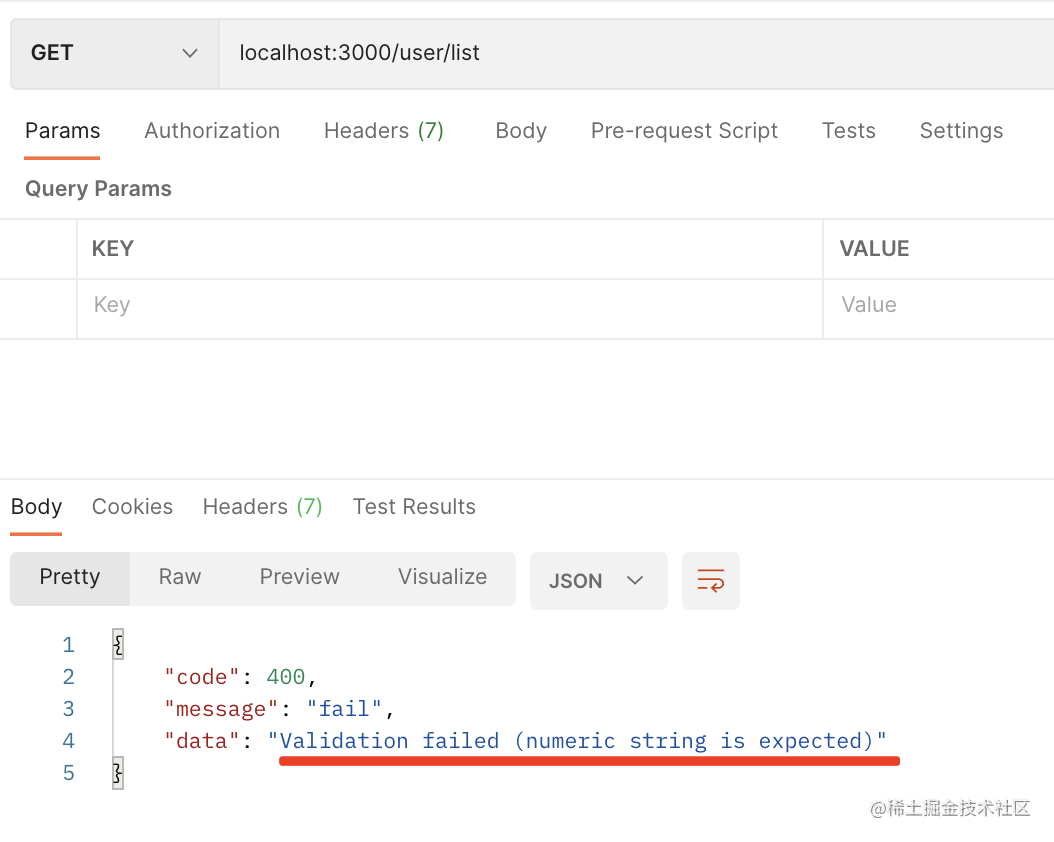
没传 pageNo 的时候会返回 400 的错误。
这个报错信息不够友好,我们改一下:
@Get('list')
async list(
@Query('pageNo', new ParseIntPipe({
  exceptionFactory() {
    throw new BadRequestException('pageNo 应该传数字');
  }
})) pageNo: number,
@Query('pageSize', new ParseIntPipe({
  exceptionFactory() {
    throw new BadRequestException('pageSize 应该传数字');
  }
})) pageSize: number
) {
    return await this.userService.findUsersByPage(pageNo, pageSize);
}
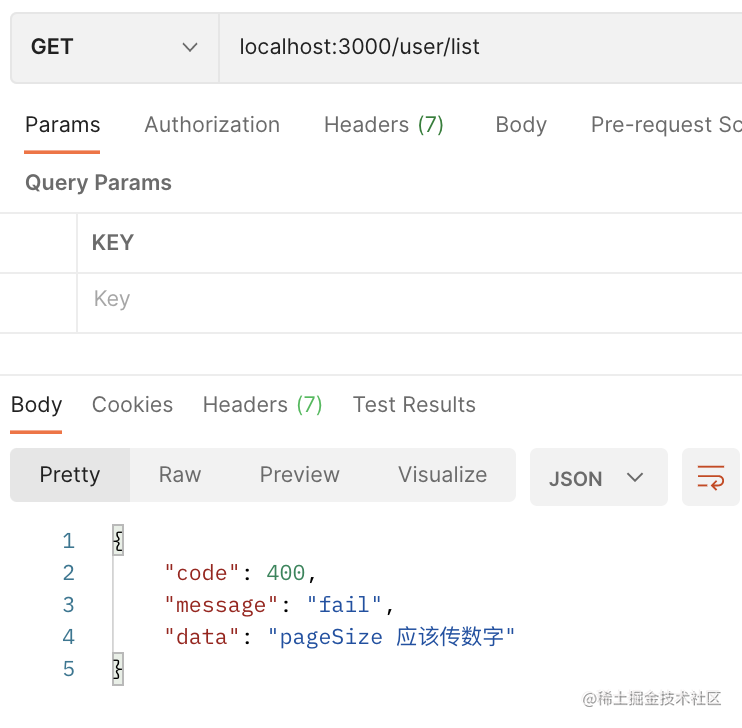
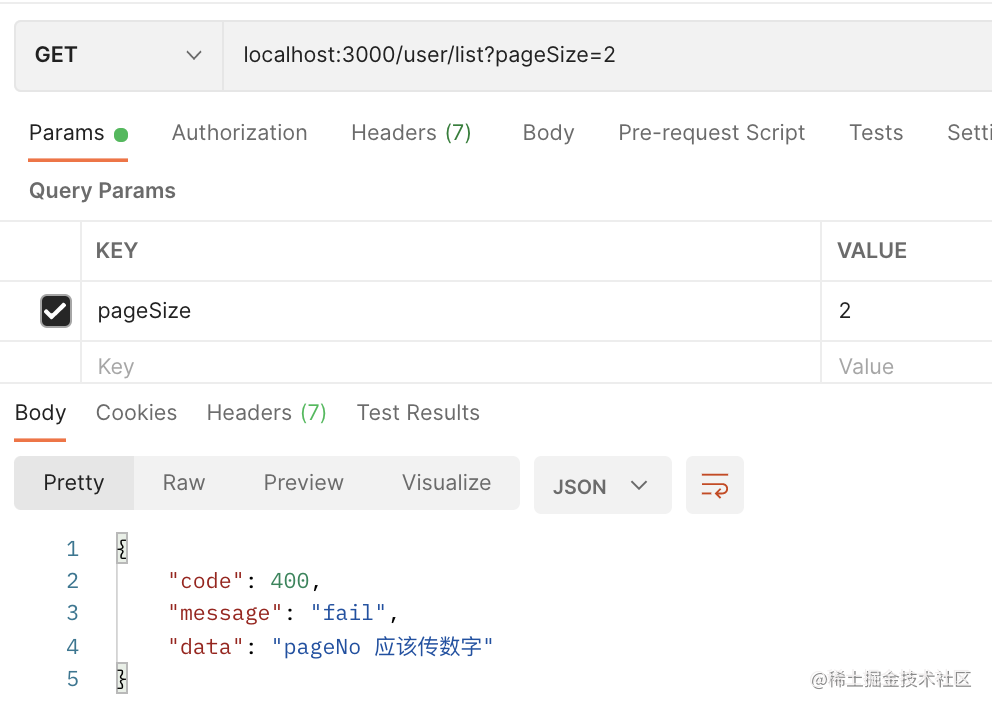
现在的提示信息就友好多了。
我们重构下代码:
把这段代码抽离到 src/utils.ts 里:
export function generateParseIntPipe(name) {
    return new ParseIntPipe({
        exceptionFactory() {
            throw new BadRequestException(name + " 应该传数字");
        },
    });
}
那 controller 的代码就可以简化成这样了:
@Get('list')
async list(
    @Query('pageNo', generateParseIntPipe('pageNo')) pageNo: number,
    @Query('pageSize', generateParseIntPipe('pageSize')) pageSize: number,
) {
    return await this.userService.findUsersByPage(pageNo, pageSize);
}
那如果没有传 pageNo 和 pageSize 的时候要设置个默认值呢?
可以使用 DefaultValuePipe:

没有传 pageNo 的时候设置为 1,没有传 pageSize 的时候设置为 2。
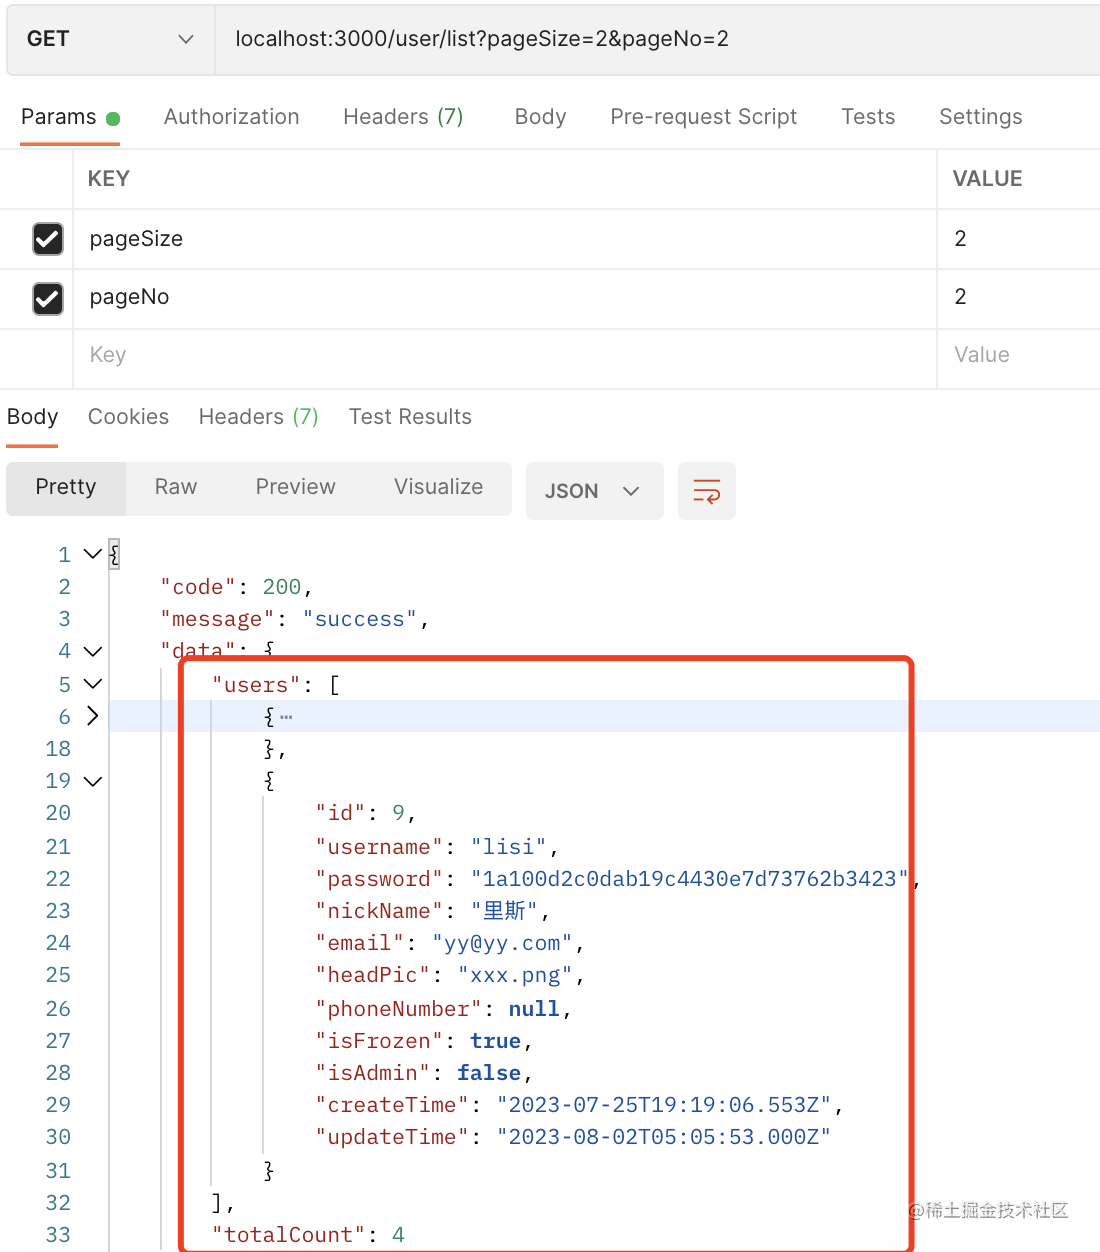
测试下:
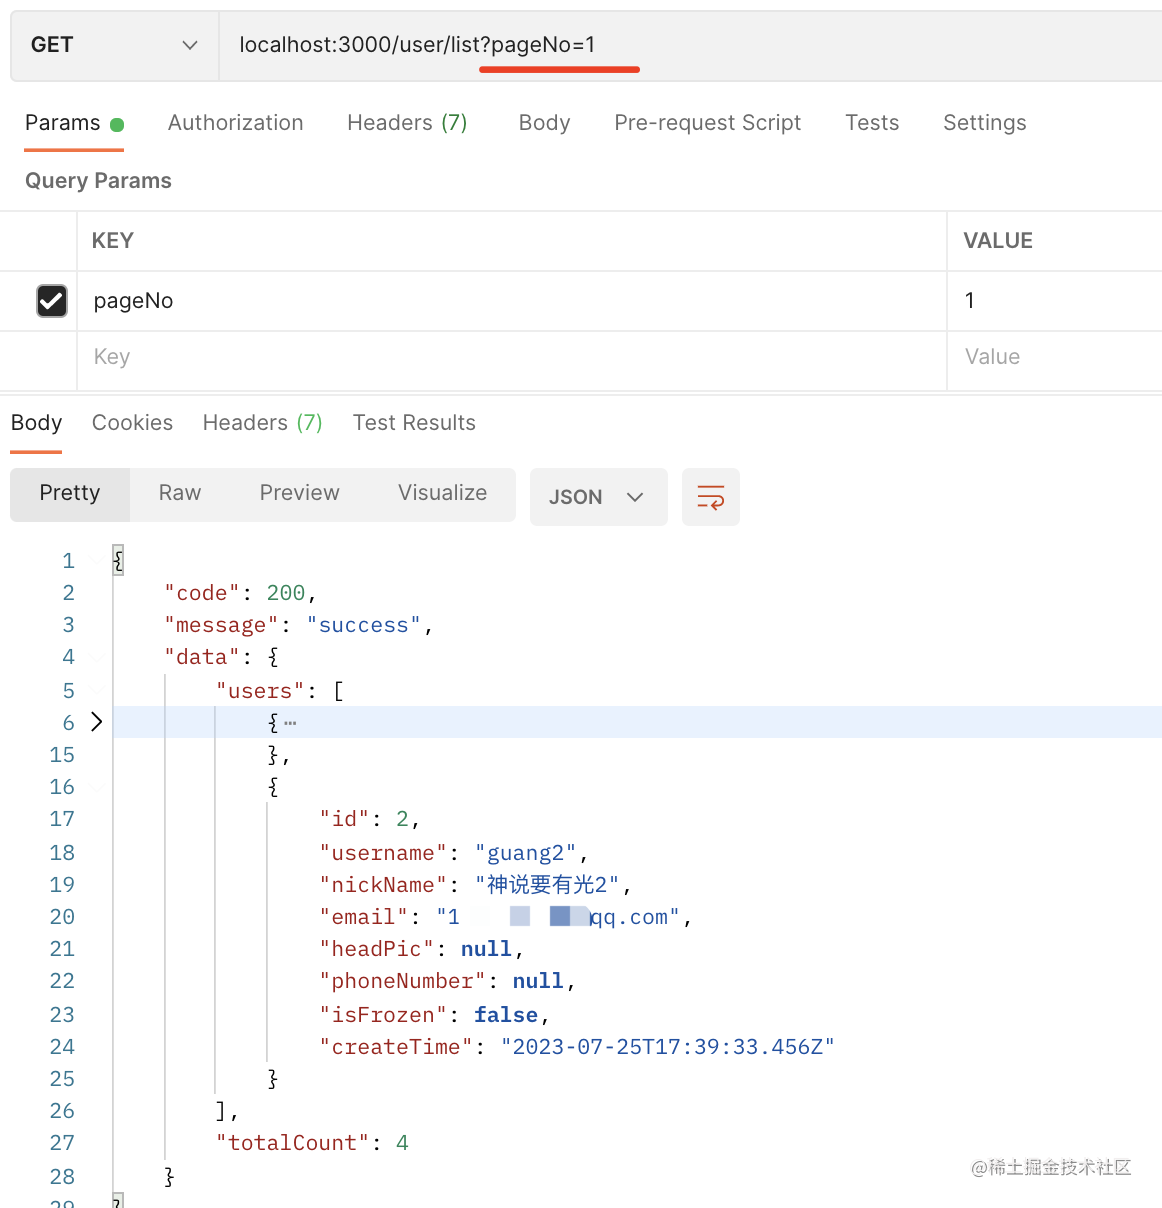
现在传入 pageNo 和 pageSize 就可以查询出对应的数据,还有总条数:
服务端打印了两条 sql:
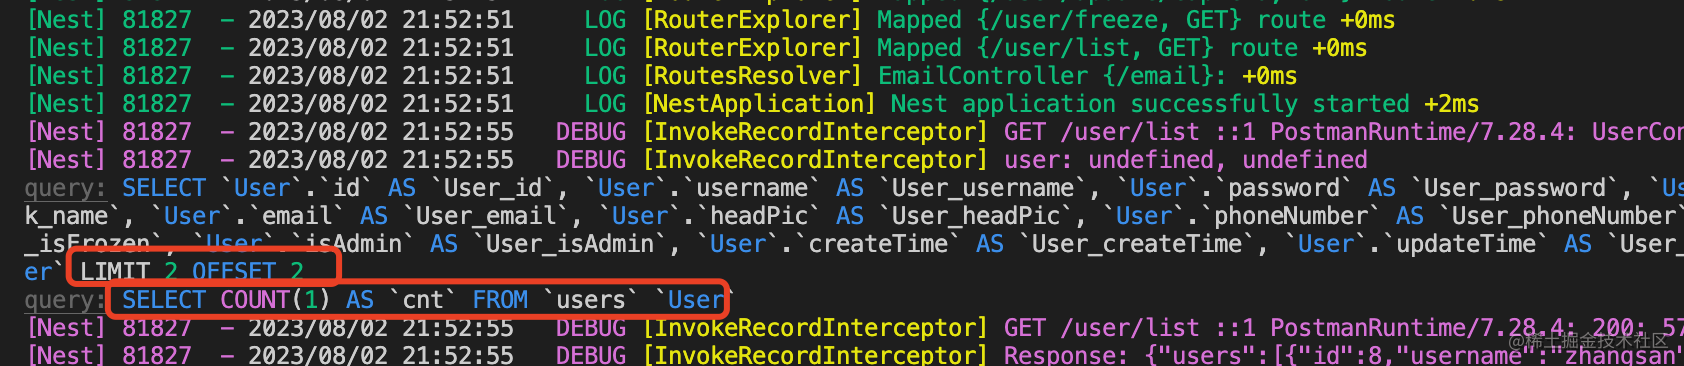
一条是分页查询,指定了 limit 2 offset 2,这个和 limit 2, 2 是一样的
一条是 count 统计,统计了用户的总条数。
这里返回的信息同样也需要做一些修改。
我们指定下 select 的字段:
async findUsersByPage(pageNo: number, pageSize: number) {
const skipCount = (pageNo - 1) * pageSize;
const [users, totalCount] = await this.userRepository.findAndCount({
select: ['id', 'username', 'nickName', 'email', 'phoneNumber', 'isFrozen', 'headPic', 'createTime'],
skip: skipCount,
take: pageSize
});
return {
users,
totalCount
}
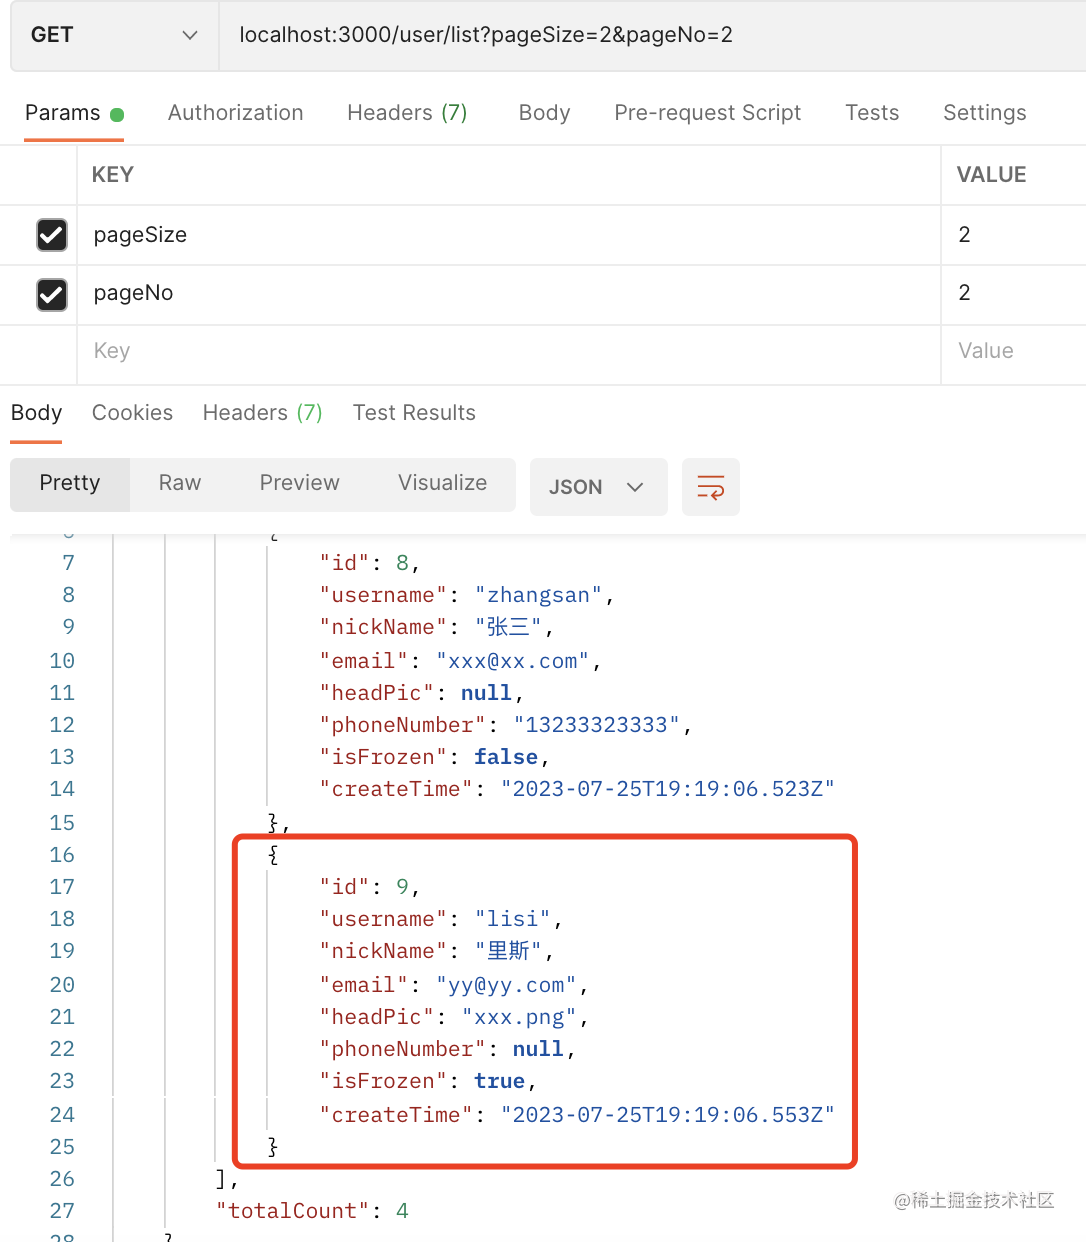
}
这样返回的数据就只包含 select 的字段了:
当然,如果你需要对返回的数据再做一些变换,这时候可以封装个 vo 对象。
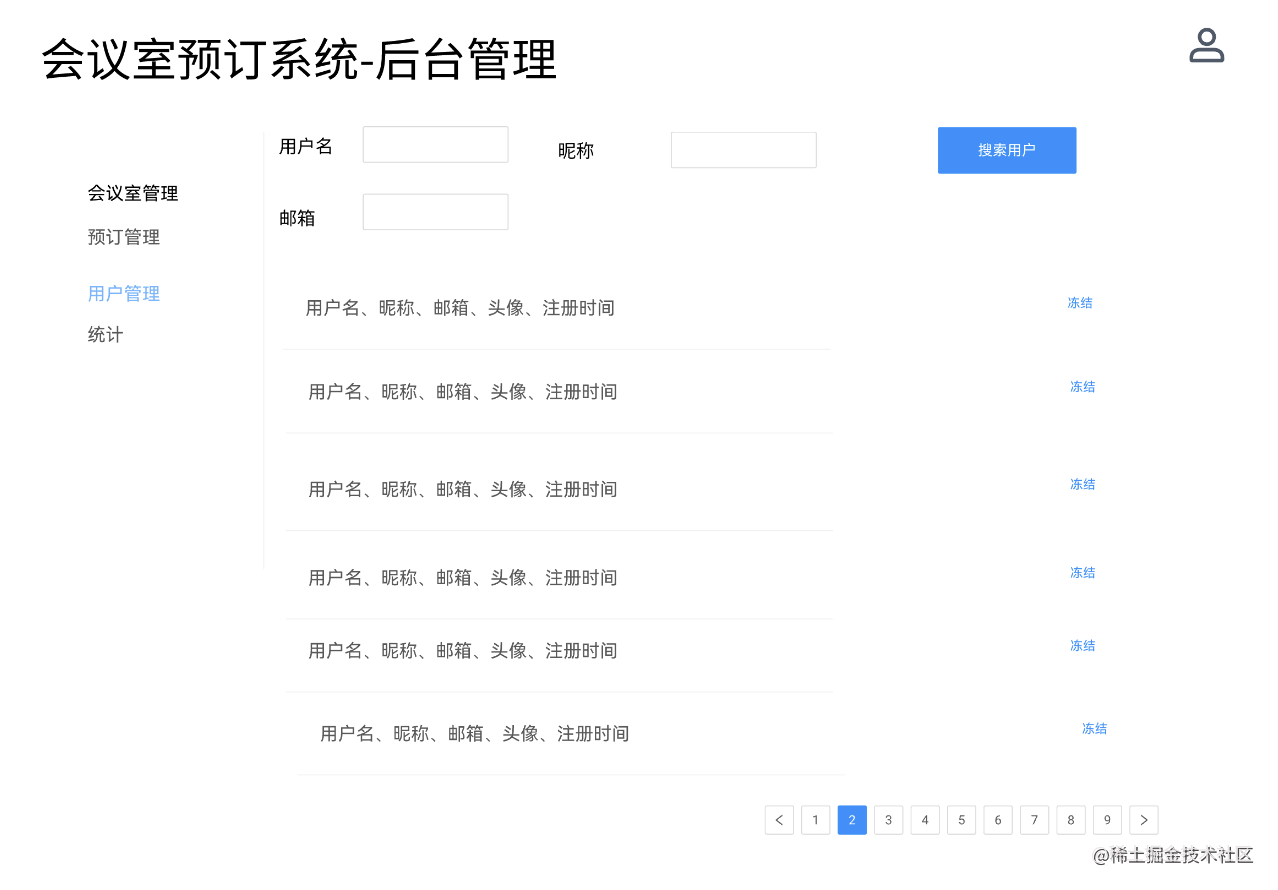
用户列表的需求除了分页外,还需要支持根据 username、nickName、email 的搜索:

添加几个参数:
@Get('list')
async list(
    @Query('pageNo', new DefaultValuePipe(1), generateParseIntPipe('pageNo')) pageNo: number,
    @Query('pageSize', new DefaultValuePipe(2), generateParseIntPipe('pageSize')) pageSize: number,
    @Query('username') username: string,
    @Query('nickName') nickName: string,
    @Query('email') email: string
) {
    return await this.userService.findUsers(username, nickName, email, pageNo, pageSize);
}
在 UserService 添加 findUsers 方法:
async findUsers(username: string, nickName: string, email: string, pageNo: number, pageSize: number) {
    const skipCount = (pageNo - 1) * pageSize;

    const condition: Record<string, any> = {};

    if(username) {
        condition.username = Like(`%${username}%`);
    }
    if(nickName) {
        condition.nickName = Like(`%${nickName}%`);
    }
    if(email) {
        condition.email = Like(`%${email}%`);
    }

    const [users, totalCount] = await this.userRepository.findAndCount({
        select: ['id', 'username', 'nickName', 'email', 'phoneNumber', 'isFrozen', 'headPic', 'createTime'],
        skip: skipCount,
        take: pageSize,
        where: condition
    });

    return {
        users,
        totalCount
    }
}
和之前的区别就是多了个 where 条件。
根据 username、nickName、email 搜索的时候,使用模糊查询。
测试下:
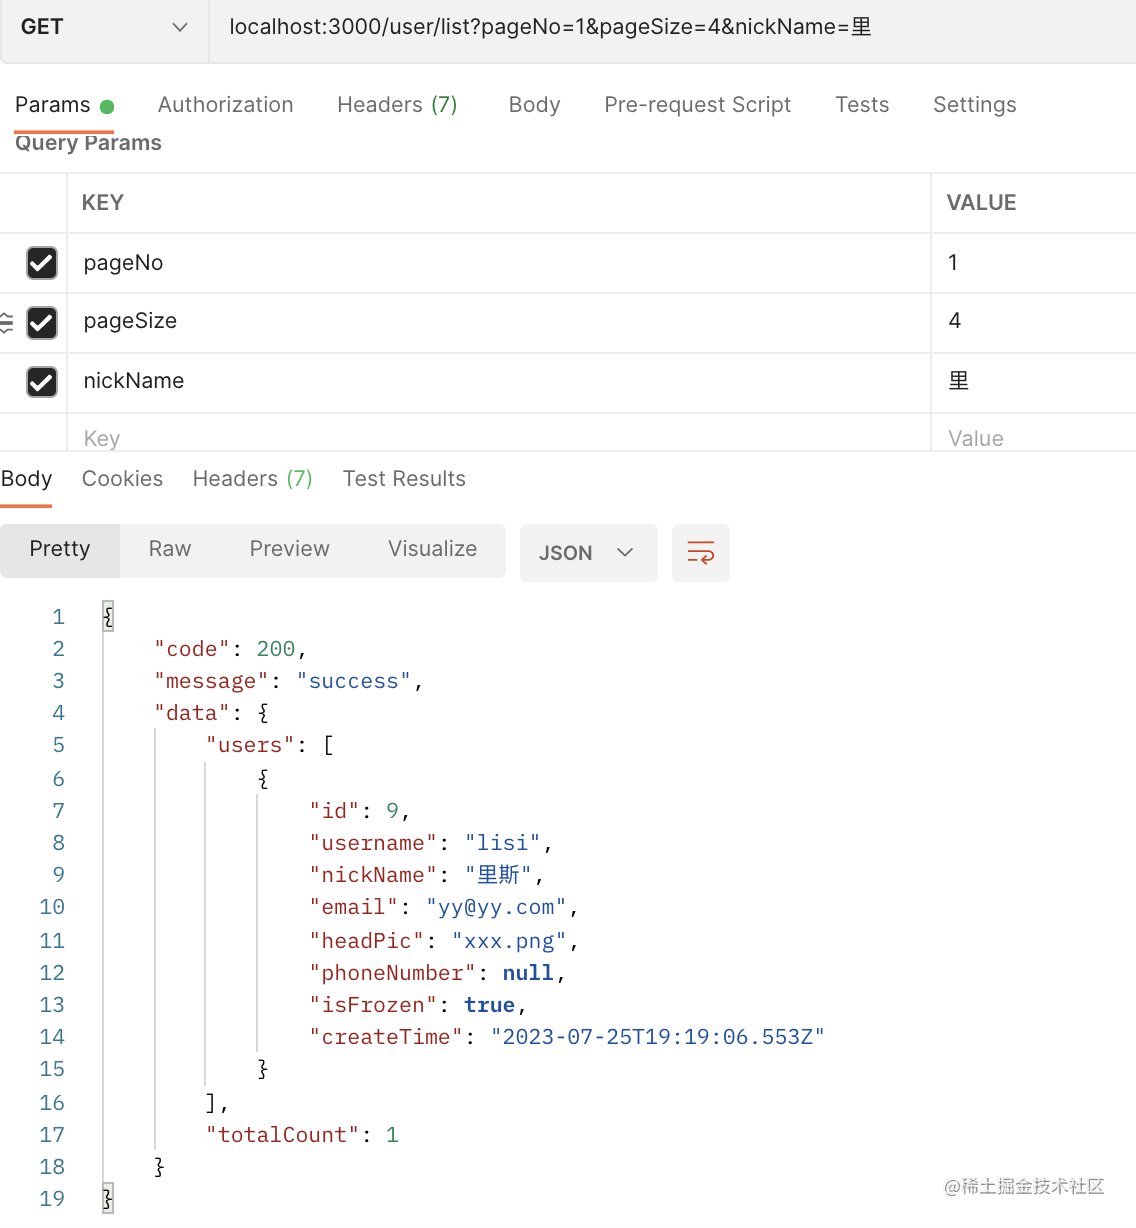
当我传 nickName 包含“里”的时候,服务端查询到数据只有一条。

传入 nickName 包含 “光” 的时候,返回两条数据。
这样,搜索就完成了。
代码在小册仓库。
总结
这节我们实现了冻结用户和用户列表接口。
我们通过自定义 exception filter,catch 了 HTTPException,返回了自定义格式的响应,统一了响应格式。
冻结用户接口比较简单,就是修改 users 表的一个字段。
用户列表支持了分页查询和模糊搜索:
分页查询就是根据 (pageNo -1) * pageSize 计算出从哪里开始,然后取 pageSize 条。
模糊搜索就是通过 like 来匹配。
此外,ParseIntPipe 我们自定义了错误格式,还使用了 DefaultValuePipe 设置了默认值。
至此,用户模块的所有接口都写完了,下节我们用 swagger 来生成接口文档。